
Editor’s note: This is Part two of our Command Deck Strategies Series. We also recommend last week’s article discussing The Alliance and Fleet Director Nandi.
Star Realms recently released the Command Decks feature into the digital app. This has lots of players asking, “How do we play them?” This guide is to help players understand the cards that come with the deck, including a broad overview of how to use them and some quick strategy tips to employ against each possible opposing commander.
Who should play BioLord Walsh of the Unity? Someone who balances the value of cards at certain points in the game makes a great candidate. The Unity deck leverages several higher level concepts of Star Realms, such as control of the trade row, choosing between damage and trade on several cards, and placing discarded cards on top of the deck.
The Unity has a potent trade ramping gambit that not only can make a key purchase for you, but puts the card into play if it’s a base. The deck also features a continuous effect that boosts your base defense and reduces those of your opponent.
Utilizing this deck will require a blend of base purchases, additional damage, and row control acquisitions. It may require other effects to join the strategy, but it is up to the player to assess the opponent and the situation.
The Unity can handle quick decks by soaking up more damage per base, and work with slower paced decks by dishing out ample damage onto opponent authority totals on account of their weakened bases.
That strategic baseline in mind, let’s dig into the cards that you’ll find when you open the pack of cards or select this commander in the digital app.
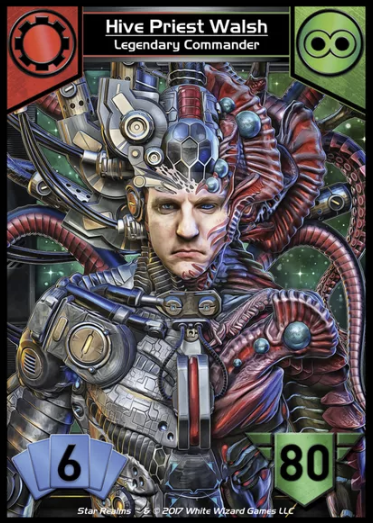
As most commanders do, Walsh comes with an 8 cost ship to shuffle into the Market Deck at the outset of the game, two gambits to set aside for use during the game, and a 12-card starting deck. You begin the game with 70 authority, instead of the normal 50, and a hand size of 6 cards, instead of the normal 5 (you still only draw 3 if you go first).
Let’s break down each card you bring to the board:
Gambits

Unity Warcraft: This continuous effect is top shelf among the permanent gambits the commanders sport, removing precious resistance to your already damage-friendly starting deck and saving you plenty of damage over the course of a game by bumping your bases up. Finding some bases throughout the game to abuse this effect is good, but even if you end up in a very aggressive stance, it still reduces opposing bases and holds value.

Walsh’s Stratagem: This gambit can be easy to misuse. Using it on an early 4 cost base directly to play can feel good, but often it is best saved for a time where you can drop a large base like Brain World into play, or use it to combo through something like a Central Station for a draw or find a conditional trigger like Battle Barge, or Embassy Yacht in a key spot. That being said, don’t be afraid to use this to scoop up a copy of The Ark or a useful large ship early in the game. These types of decisions come down to your comfort with the state of the game and experience using this command deck. Practice makes perfect!
Starting Deck
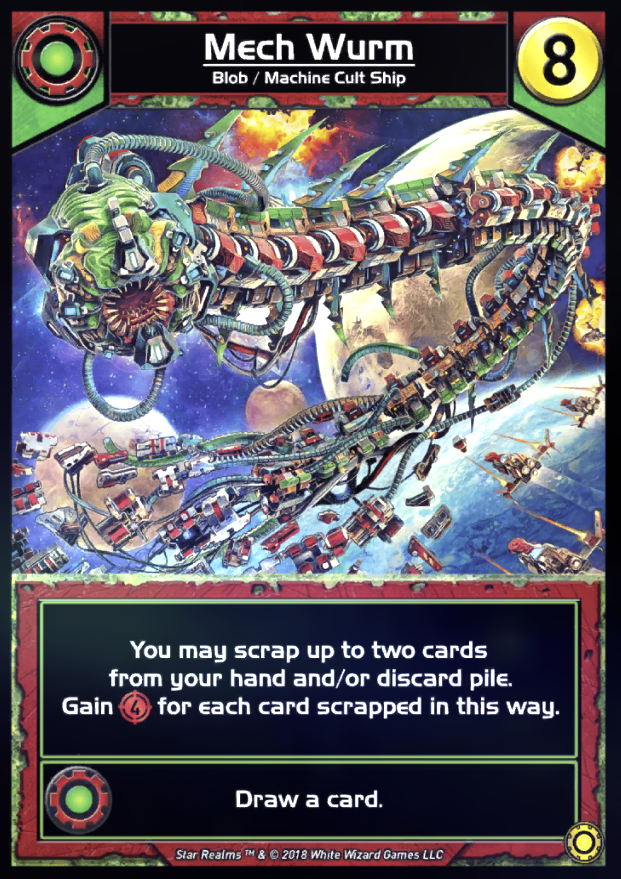
Mech Wurm (Shuffled into Market Deck): This card as a bomb can feel underwhelming. However if you don’t have to go out of your way to purchase it, it can hold value. Providing up to 2 scraps, 8 damage and (likely) a draw has great value early on, and could possibly provide a late game press. I will not detail it too heavily as it is not part of your starting deck and might never show into the row.
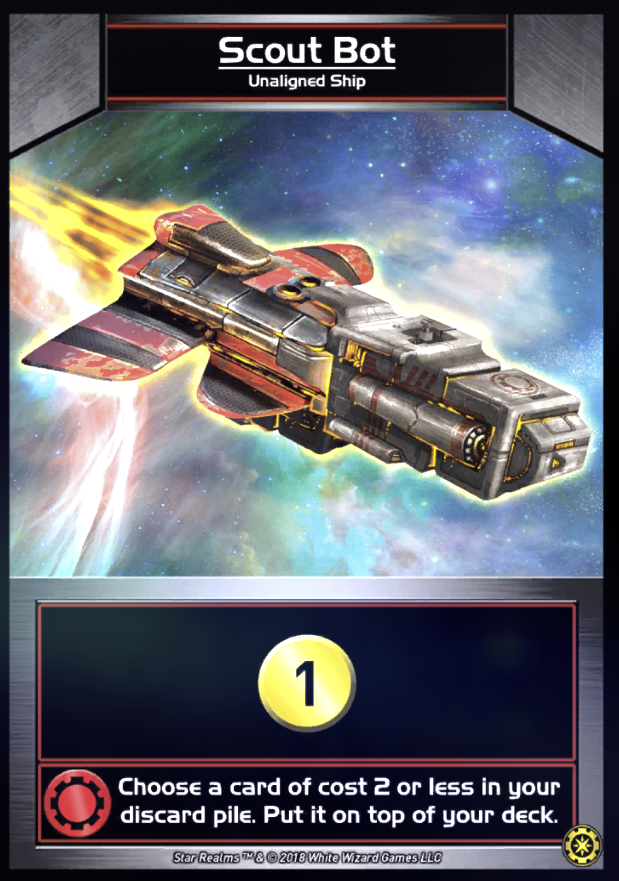
Scout Bot: This card is not a Machine Cult card, but has an ally ability if it shows up with a red card, which is what makes it really shine. Often this card will see the entire game, as it can set up double ally abilities or put punishing cards you buy like Blob Miner, Missile Bot, and Predator on top over and over for your usage. As a warning, play slowly so you use this card before any draw effects and so that you can maximize each play. Don’t be afraid to scrap it away in an opportune spot if you are having trouble putting the salvage effect to use.
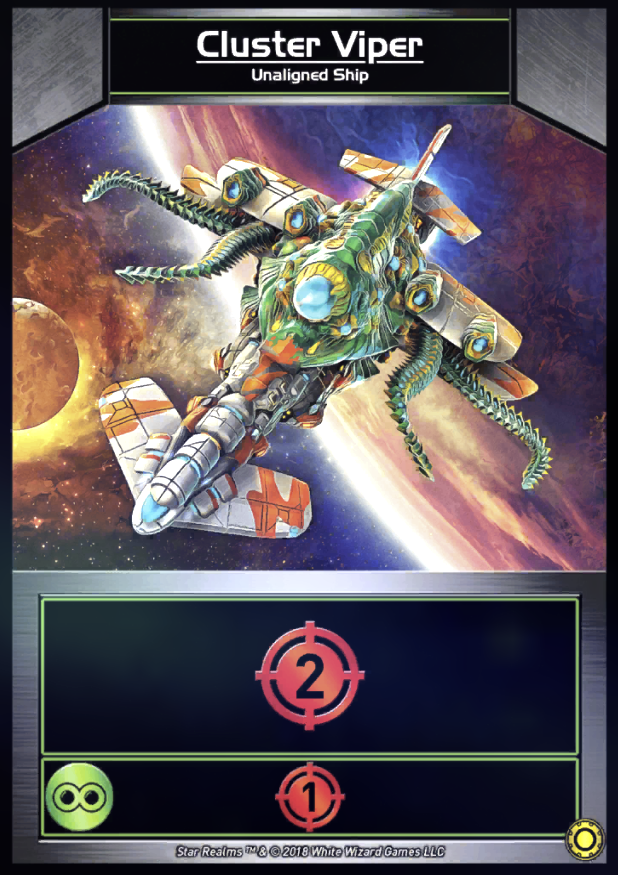
Cluster Viper: This card is like Scout Bot in that it gets to be a large Viper if you have a Blob card in play. Use this card to put extra pressure on your opponent early and clear out their “puny” bases. As you develop better options in your deck, feel free to treat this like a normal viper and use it as discard and scrap fodder to create a more streamlined shuffling experience for yourself.

Protopod: This card can seem underwhelming at first, but provides crucial trade early, and can keep the damage flowing by being Blob itself and providing damage on an ally ability. Cards like this and Welder Drone give the deck flexibility to move seamlessly to make proactive and disruptive plays at the same time each turn.

Swarmling: Swarmling is another high level starter card that has value through the entire game most games, acting in tandem with your other starters to provide early damage pressure and clean up the row. Learning to use row control Blob effects is a skill that will pay off so heavily in the long run. This deck thrives off of keeping your opponent reeling, and taking away cards of their color as well as limiting the number of high cost cards they can acquire.

Welder Drone: Welder is a versatile card that can provide either trade or damage, on top of being Machine Cult for ally ability usage. Use this card to make larger purchases early in the game and turn to chip damage as the game progresses. This card is later in the scrap hierarchy because other cards are more narrow in use and warrant removal first.
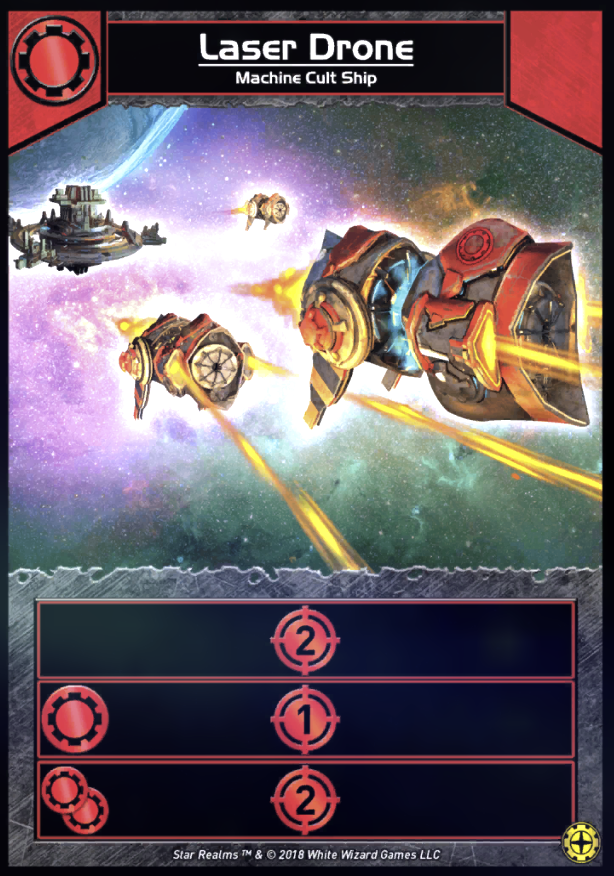
Laser Drone: This card is a useful card as the game moves along, possibly being a 5 damage for 0 cost starter. It can be filtered out of your starting hands if you buy cards like Farm Ship, but comes back to regain value as you acquire more cards. If you find yourself turning away from Machine Cult as the game progresses, don’t be afraid to scrap it.
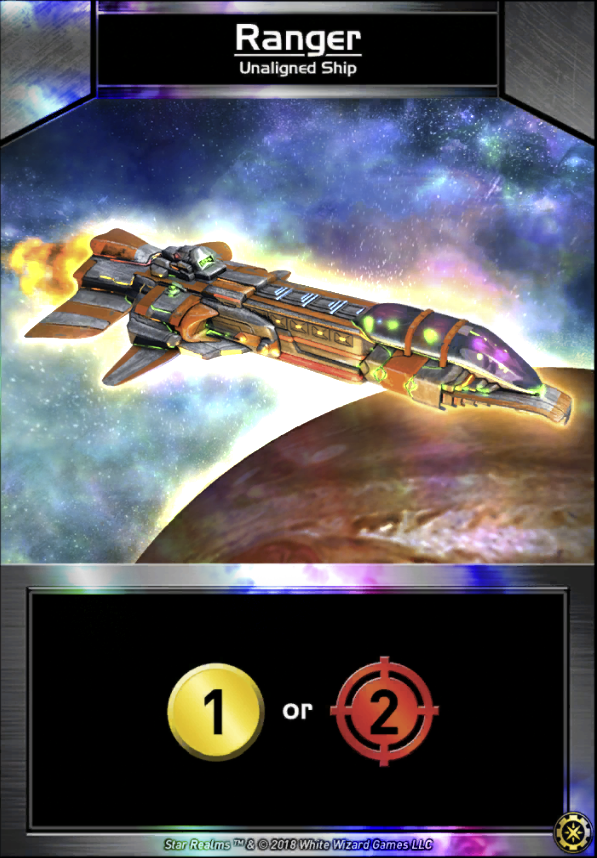
Ranger: This card is common to all command decks barring Lost Fleet, and goes along the same lines as Welder Drone above. It is worth noting that this deck appreciates it more than the average deck as it can help ramp up for a base purchase or for using the gambit that puts a base into play, and can be useful damage later, but being unaligned, does lose value as the game progresses. It can often be scrapped if a Scout or Viper is not available or they are already gone.
4 Scouts, 1 Viper: Scrap these first (if you want to).
Matchups
Each commander handles various rows and different expansions differently, and so it is tough to slap a sticker on what to do in each matchup. That in mind, I will present a short synopsis on what approach you want to take when you start a game and see each opposing commander.
Walsh. Looking into the mirror to play this deck is interesting because the benefit to your bases is nullified by their gambit. Often this matchup goes to the player who can get the most on theme cards from the row, or make the most vital purchase using the trade gambit.
Nandi. Nandi is hard to combat if the opponent is constantly grinding giant cards to the top of their deck. One of the biggest advantages you can serve yourself is that you can put a threatening base into play using your gambit, which forces Nandi to commit to damage that they may not be interested in having on a given turn. Then press the attack to keep their combo from getting too large.
Jochum. Jochum uses a seven-card hand to full advantage. This is a hard match, but the easiest method to battle it is to deny the opponent scrap at nearly any cost. If their deck remains large, the big hands might not be as scary. Another thing to consider is their deck starts very light on damage, so early bases can make them play off balance.
Newburg. When taking on Newburg, the opposing ability to create an authority differential is a concern. Snapping up green cards as they appear can turn the tide by denying damage to them and increasing your ability to press them. Grabbing a few early bases to preserve your authority total can also help, but allowing their authority to creep up can create an unwinnable situation, so beware.
Le. Le is less interested in interacting with you, and more about creating a deck that cycles itself and puts you into a base or discard lock. Attempting to manage the yellow cards and free scraps left on the row should be sufficient to run Le over before an engine can be built.
Valken. Valken’s gambit generates a base, which Walsh naturally preys on. If the game drags on via authority gain, Valken can create a tough-to-knock-down, scrapped-out machine, so embrace your Blob here and move the game along.
McCready. Against the high octane assault of McCready, a similar strategy to Newburg applies. Get hold of aggressive cards and draw power, and prepare to race. Walsh starts with a 10 authority advantage, so use it to your advantage!
Final Thoughts
You’re ready to start! As you get into games with this deck, some things to keep in mind:
- Play slowly!! Keep watch of the opponent’s approach to the game and put the versatility of this deck to work against it.
- Prioritize purchases that won’t dilute your bases or slow your aggressive play; it is okay to leave trade unspent.
- Be mindful of the scrap situation and put yourself in control of it through purchases or scrapping the row.
In closing, while it is not likely the strongest nor the weakest of the command decks, Walsh can hold up against each of them. Walsh can operate most any row, as his deck is friendly with bases, damage, and scrap, while keeping up with trade out of the box. This deck is usable and accessible to less experienced players, but can reward good decision making regarding gambit use and row control.
Get out there, have fun, and bring glory to the Unity!

Pingback: Command Deck Strategies Part 3: The Pact and Overlord Newburg | Megahaulin Blog for Star Realm Strategy
Pingback: Command Deck Strategies Part 4: The Lost Fleet and High Admiral Jochum | Megahaulin Blog for Star Realm Strategy
Pingback: Command Deck Strategies Part 4: The Union Command and Hive Admiral McCready | Megahaulin Blog for Star Realm Strategy
Pingback: Command Deck Strategies Part 6: The Alignment and Divine Admiral Le | Megahaulin Blog for Star Realm Strategy
Pingback: Command Deck Strategies Part 7: The Coalition and High Director Valken | Megahaulin Blog for Star Realm Strategy